Introduction
This is a code walkthrough to show you how to create a .Net console application to authenticate to Azure Active Directory using OAuth2 Client Credentials flow to get an access token to Azure Key Vault. It then uses the access token to call Azure Key Vault to get a secret. The following steps will be performed in this post:
- Create an Azure Key Vault
- Create a new self-signed certificate to use in client credentials flow
- Create a new Application Registration
- Create a new console app to retrieve a secret from Azure Key Vault
Create an Azure Key Vault
You can create an Azure Key Vault from the Azure portal if you don’t have one already. Refer to https://docs.microsoft.com/en-us/azure/key-vault/key-vault-get-started for more info. I use the Powershell script below to create a new Azure Key Vault and then set a new secret.
[gist id=”f712488ddd72ab9eed7c6b0e2115ce61″ file=”CreateKeyVault.ps1″]
The above script creates an Azure Key Vault called BlogKV123 with a secret called SQLPassword:

Create a new self-signed certificate
I use the Powershell script below to create a new exportable self-signed certificate. See https://docs.microsoft.com/en-us/azure/key-vault/key-vault-use-from-web-application for more info.
[gist id=”e5f4671e35a97f3b3e8a579b9a2c05b9″ file=”CreateSelfSignedCert.ps1″]
Create a new Application Registration
We need to create a new Application Registration in the Azure Active Directory’s App Registration blade and then upload the certificate cer file created above to the Keys section of the Application. In addition, we also need to give our Application (really its Service Principal) access permission to the Azure Key Vault to read its secret info. I use the following Powershell script from https://docs.microsoft.com/en-us/azure/key-vault/key-vault-use-from-web-application to do this.. Take note of the certificate thumbprint output below as you will need it later for the application code.
[gist id=”c5a8c49ed9e831e98925e25cf3b2ffd7″ file=”CreateAADAppwithKeyVault.ps1″]
The script above should create a “Web app / API” Application type and upload the certificate file to the Application in the Keys => Public Keys section as in the screen shot below. The thumbprint info should match the output above in the Powershell console.
Take note of the Application ID and the thumbprint as you will use it in your console app later.

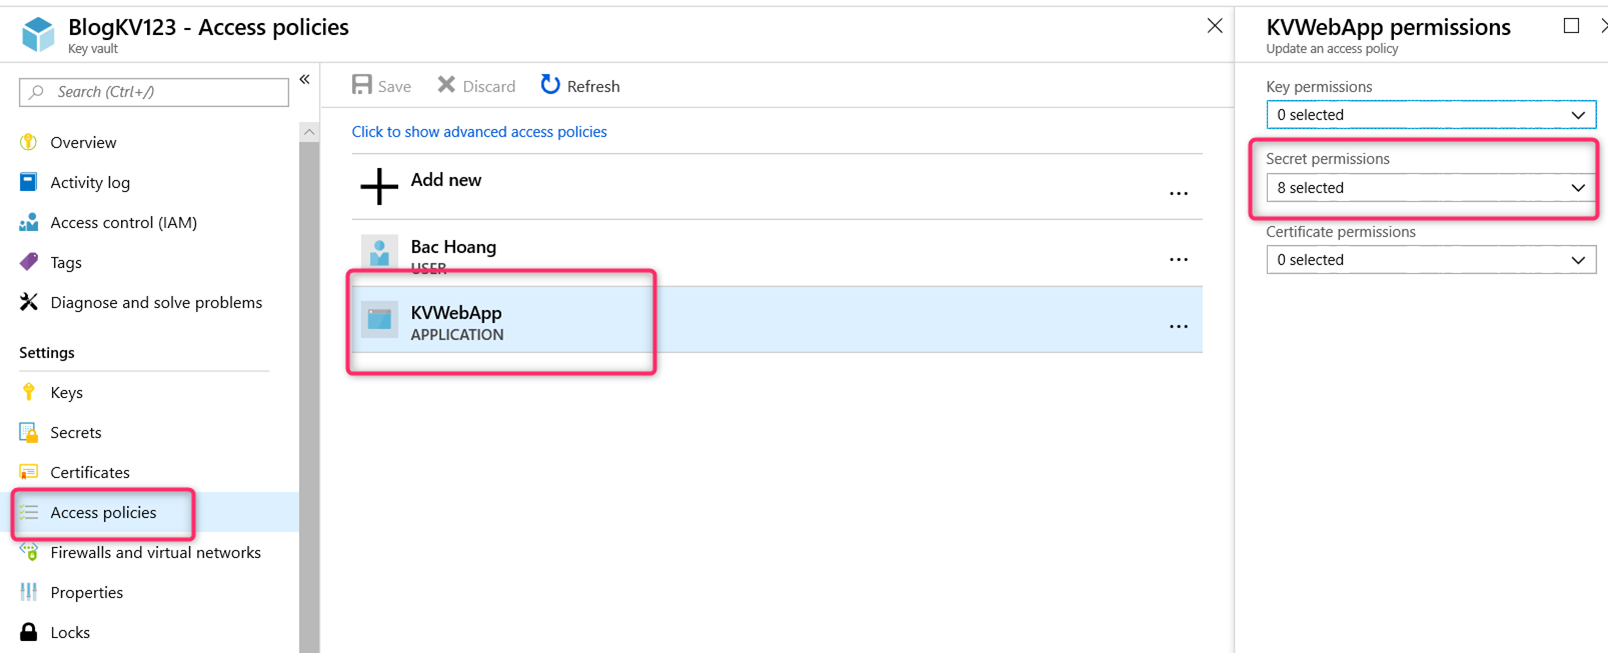
Over in the Azure Key Vault blade, you should see the Service Principal for our Application listed in the Access policies section with all the given secret operation permission
Create a Console Application
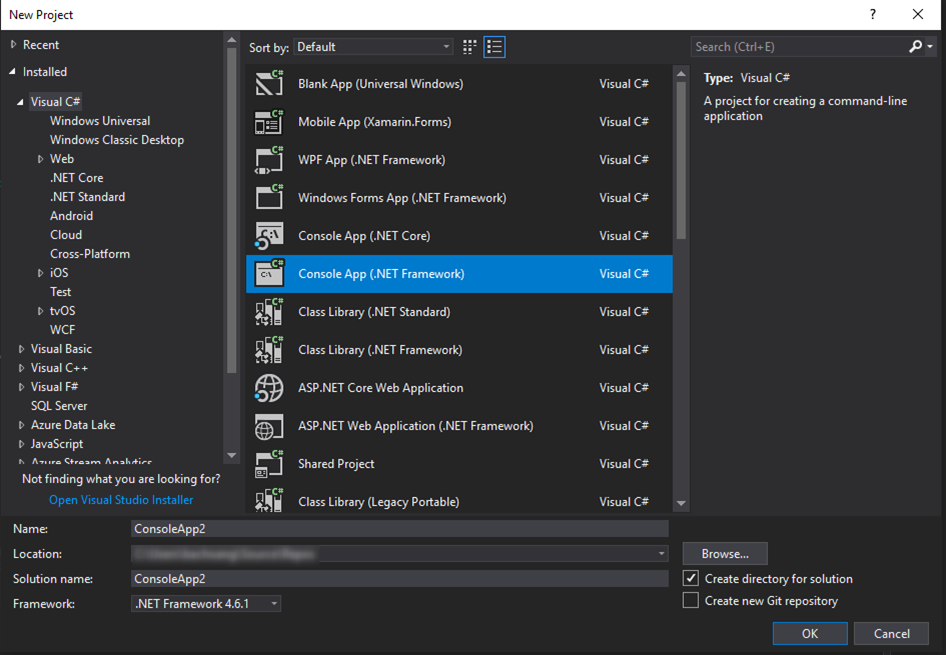
- From Visual Studio 2017 Create a new .Net console app:
- Install the following Nuget packages from the Package Manager Console:
Install-Package Microsoft.IdentityModel.Clients.ActiveDirectory
Install-Package Microsoft.Azure.KeyVault
-
Replace the code in Program.cs with the following code (Use both the Application ID and the certificate thumbprint from above on line 14 and 15 respectively):
[gist id=”8e986c31c71da41d696ac4d4b175df2a” file=”Program.cs” ]
-
Run the application and you should get the output ‘Pa$$w0rd’ printed out.
References:
https://docs.microsoft.com/en-us/azure/key-vault/key-vault-get-started
https://www.rahulpnath.com/blog/authenticating-a-client-application-with-azure-key-vault/
https://docs.microsoft.com/en-us/azure/key-vault/key-vault-use-from-web-application