Introduction
This article is meant to help you configure your Mac OS X to be able to track all your network traffic using MITMProxy. This is a free and open source alternative to Fiddler, Charles, and other network tracing alternatives for Linux/mac OS X systems. Also in addition MITMProxy is a more robust system that gives the user more configurability and programmability as there is a Python API for MITMProxy for you to integrate into your applications. There is more Documentation on MITMProxy here. Before following this documentation, please note that my OS X version may be different from yours and as OS X versions change and MITMProxy changes there may be other issues to occur. Please comment if you have any errors and I will follow up on the comments to see if I can change/add to this document to include resolutions to future errors.
This installation and configuration of MITMProxy documentation is for High Sierra:
In addition here are my versions of all dependencies, as these open source versions change some may not work properly with each other. But if you have these versions in play it should work properly :
Installing MITMProxy
The first step we will need to go through is to install MITMProxy onto your machine. You can utilize PIP to install MITMProxy, but the official documentation says to use Homebrew to install MITMProxy so we will include the documentation to install MITMProxy with Homebrew here.
In order to install Homebrew you will have to copy and paste the following command into terminal:
/usr/bin/ruby -e "$(curl -fsSL https://raw.githubusercontent.com/Homebrew/install/master/install)"In addition to that you can learn more about Homebrew at brew.sh
After following the install script, you should now have Homebrew on your machine. Now you will be able to install MITMProxy with the command below:
brew install MITMProxyYou will probably run into an error where it says that you cannot install because the script wasn’t able to uninstall six 1.4.1.
It should look like this error:
OSError: [Errno 1] Operation not permitted: '/tmp/pip-H12_rn-uninstall/System/Library/Frameworks/Python.framework/Versions/2.7/Extras/lib/python/six-1.4.1-py2.7.egg-info'
This is because Six 1.4.1 is built into the OS for El Capitain, and Apple made it so that you cannot uninstall Six 1.4.1. So you may have to run this command to install MITMProxy :
brew install MITMProxy –-ignore-installed sixNow you should have MITMProxy installed onto your machine.
Configuring Mac OS High Sierra to use MITMProxy
Now that you have MITMProxy set properly, you’ll have to configure your network settings to proxy through MITMProxy. You will want to utilize the SOCKS proxy in order to get the traffic going through the machine. Currently at the current versioning of MITMProxy it utilizes SOCKS5 protocol as defined by RFC 1928 : https://tools.ietf.org/html/rfc1928
SOCKS proxy is different from most normal proxies as it is supposed to act at a much lower level as opposed to HTTPS proxying. The SOCKS protocol requires a user’s workstation to have a client installed and then will initiate a connection to the SOCKS server, then the SOCKS server will imitate the client connecting to the SOCKS server and will send packets as the client to the destination. Some VPN providers have services where they will use SOCKS5 proxy servers in order to mask the identity of the client such as changing the source IP from a European country to an American Country in order to get access to American content or vice versa. Because our Socks Proxy is actually still on the same machine it will still be the same IP Address, but we will be able to see all the requests and responses going through. Also note that VPNs are different and create a direct connection between you and the server with an encryption to keep the data even more safe. SOCKS5 Proxy sends the packets untouched, only the Source IP Address changes to the SOCKS proxy server.
So to start we are going to want to configure our machine to proxy all data through the Loopback interface utilizing SOCKS proxying in the network settings in your Mac OS X machine.
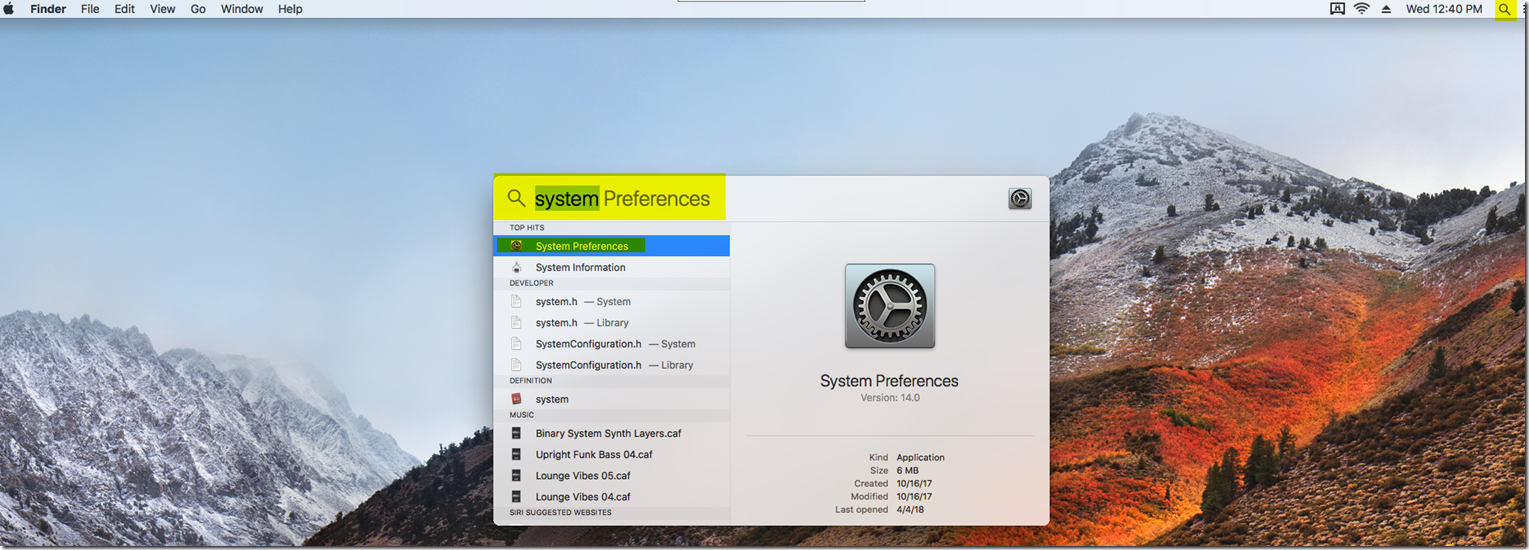
First we are going to want to go to the system preferences. You can find this by going to the top right and searching in spotlight the system preferences. After this, go to the networks setting in system preferences.
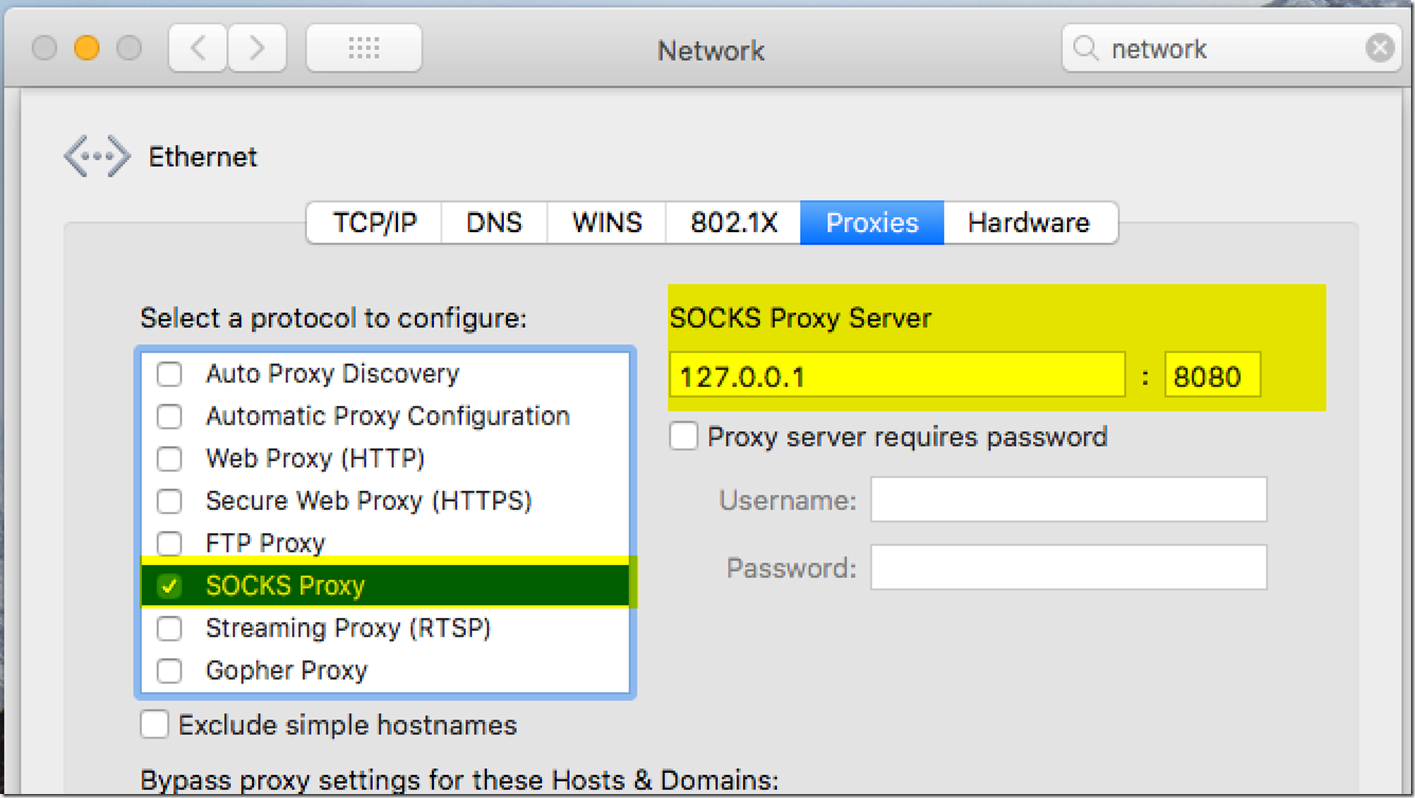
From there we are going to want to go to the advanced options and go to the Proxies tab. From there we are going to want to enable the SOCKS proxy.
After getting to the proxies tab, you will want to click the checkmark box next to SOCKS proxy, and put in 127.0.0.1:8080 for your server.
Configuring the Machine to Trust MITMProxy
After configuring your network items, press the apply button in the network panel and then your Mac should now be setup to be able to use MITMProxy, however we won’t be able to read anything going through the proxy yet because we haven’t configured the MITMproxy certs. We will need to add the certs to our keychain and then trust the certs so to tell the Mac machine that we trust MITMproxy to read all our data in between and to allow sending requests through. If you don’t trust the certificates you won’t even be able to access anything outside of your machine.
First we will want to open terminal and run mitmproxy in socks mode.
Now we have MITMProxy running on Lo0, now mitmproxy will intercept your traffic when you try to hit the endpoint mitm.it. If you see this:
This means that you are currently still accessing the internet and not going through MITMproxy, when you go through MITMproxy and try to access mitm.it you will see:
Now click on the apple and you will download a .pem file called “mitmproxy-ca-cert.pem”.
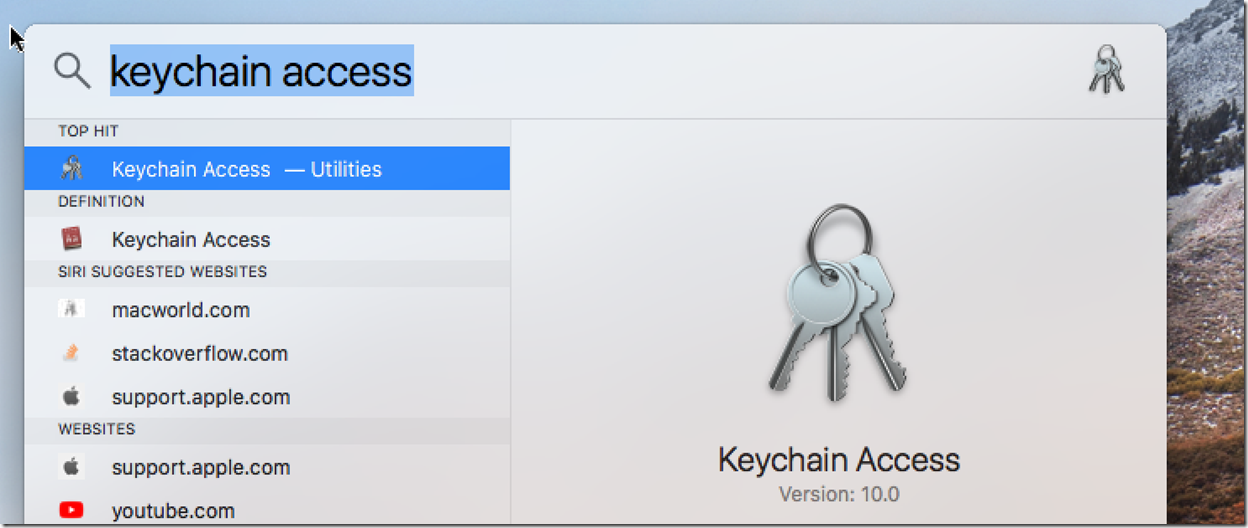
Go to downloads and put it in your keychain access. You can do this by dragging and dropping it into the keychain.
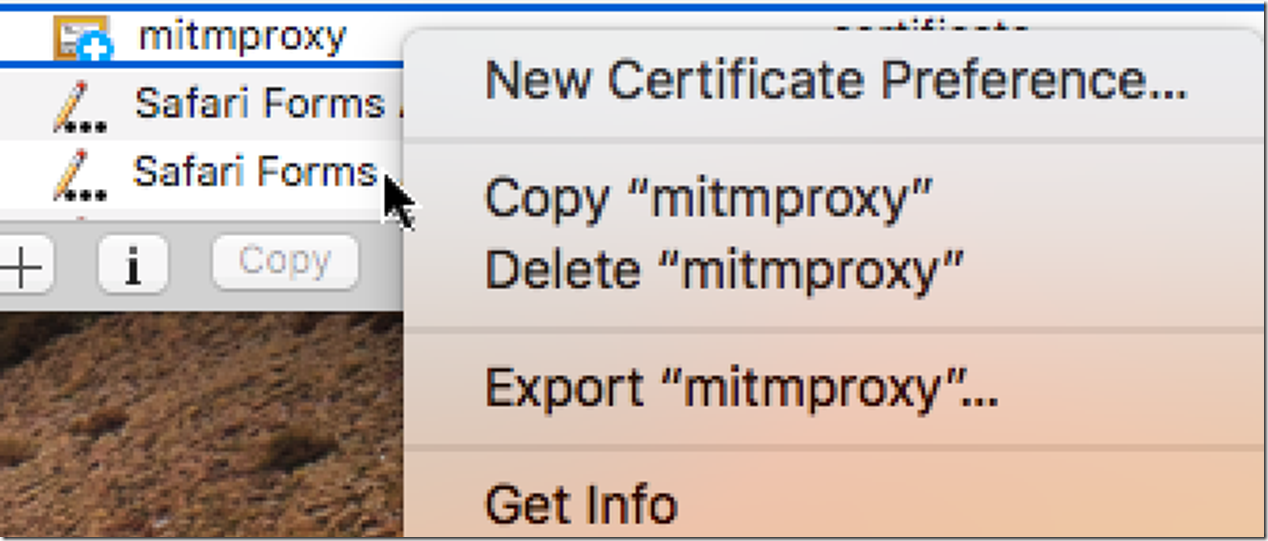
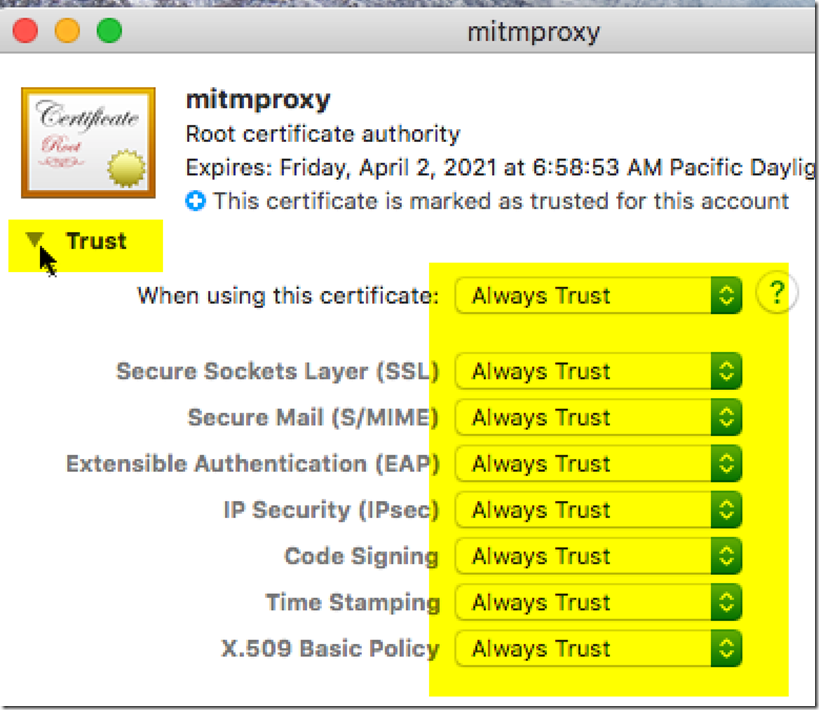
After dragging and dropping it into the keychain access, you will notice it has a red icon above the picture of the certificate. You will still need to trust the certificate in order to let data through MITMProxy. You can do this by going to trust after clicking on the certificate and then going to File > Get Info or right clicking on the item and pressing get info. Then you will have to press the carat next to trust and allow trust for the certificate.
Now you should be able to utilize MITMProxy to get data now while you’re using your applications.
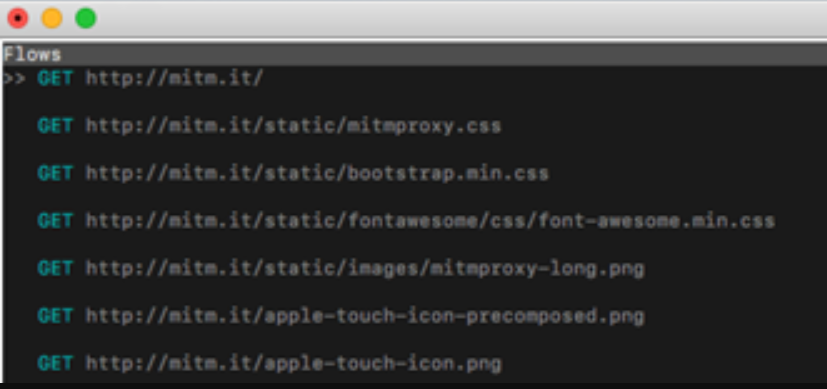
You can click on the request and tab through the request, response, and detail.
You can also utilize the web browser version, I was only able to get this running in google chrome, so please be sure to get chrome beforehand. Then you can run the command:
mitmweb –mode socks5 –showhost
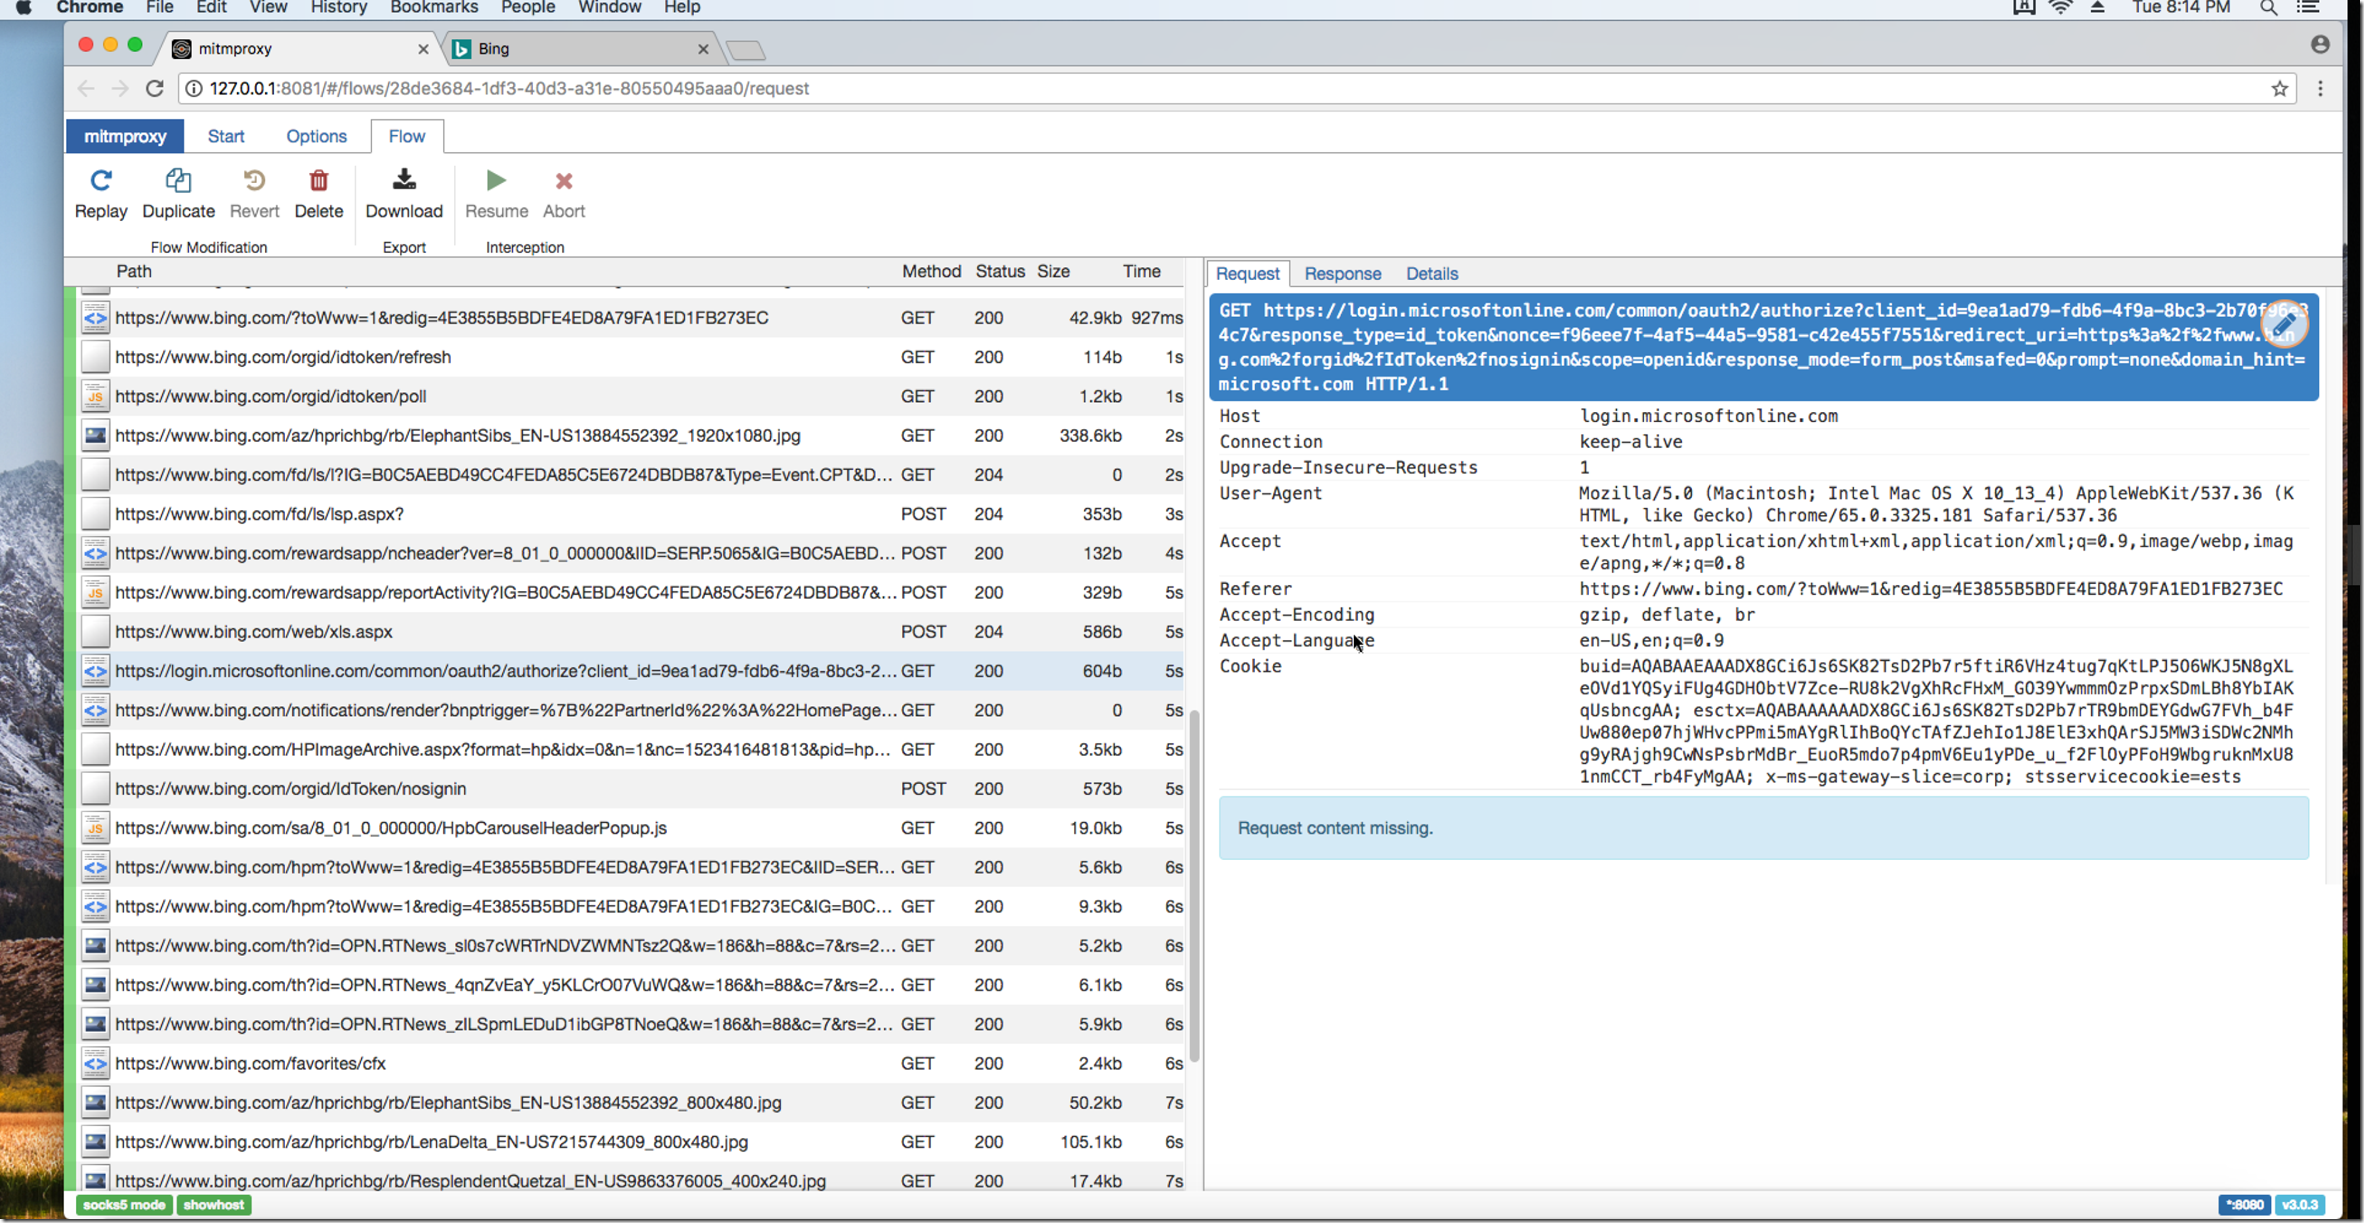
and then be sure to open up the localhost with the correct port number in chrome. You’ll then be able to utilize a better interface to see the response and requests.
Here is a small get request when I try go to bing.com in a separate tab and the background login starts.
Conclusion
After following all these directions we are now able to get request/responses at the socket layer using MITM. Note that as versionings change there may be issues with dependencies but with these versions you should be fine.


